Stone chips do not strike every painted panel equally, and a film that protects the bonnet alone can leave the bumper, mirrors and rocker panels exposed. By the end, you will know which areas to cover, how to compare PPF specifications with other paint treatments, and how to check whether an installation is worth accepting.
Key takeaways
- Prioritise the bumper, bonnet edge and front fenders for stone-chip protection.
- Choose full-front PPF for maximum coverage; target exposed panels to control cost.
- Compare TPU film thickness, self-healing features, warranty terms and edge coverage.
- Inspect paint correction, dust-free edges, lifting corners and trapped bubbles before payment.
Which Paint Panels Take the Most Stone Chips?
Prioritise the front bumper, bonnet leading edge and front fenders: these surfaces face stones thrown upward by tyres and vehicles ahead. Add exterior mirror caps, A-pillars, rocker panels and the paint behind the front wheels, where rotating tyres direct grit sideways.
| Panel | Exposure | Why it matters |
|---|---|---|
| Front bumper | Very high | Takes direct impacts and low-angle debris |
| Bonnet leading edge | Very high | Meets stones lifted over the bumper |
| Front fenders | High | Catch debris beside the front tyres |
| Mirror caps and A-pillars | High | Face stones and grit thrown outward |
| Rockers and behind front wheels | High | Receive spray, gravel and abrasive road dirt |
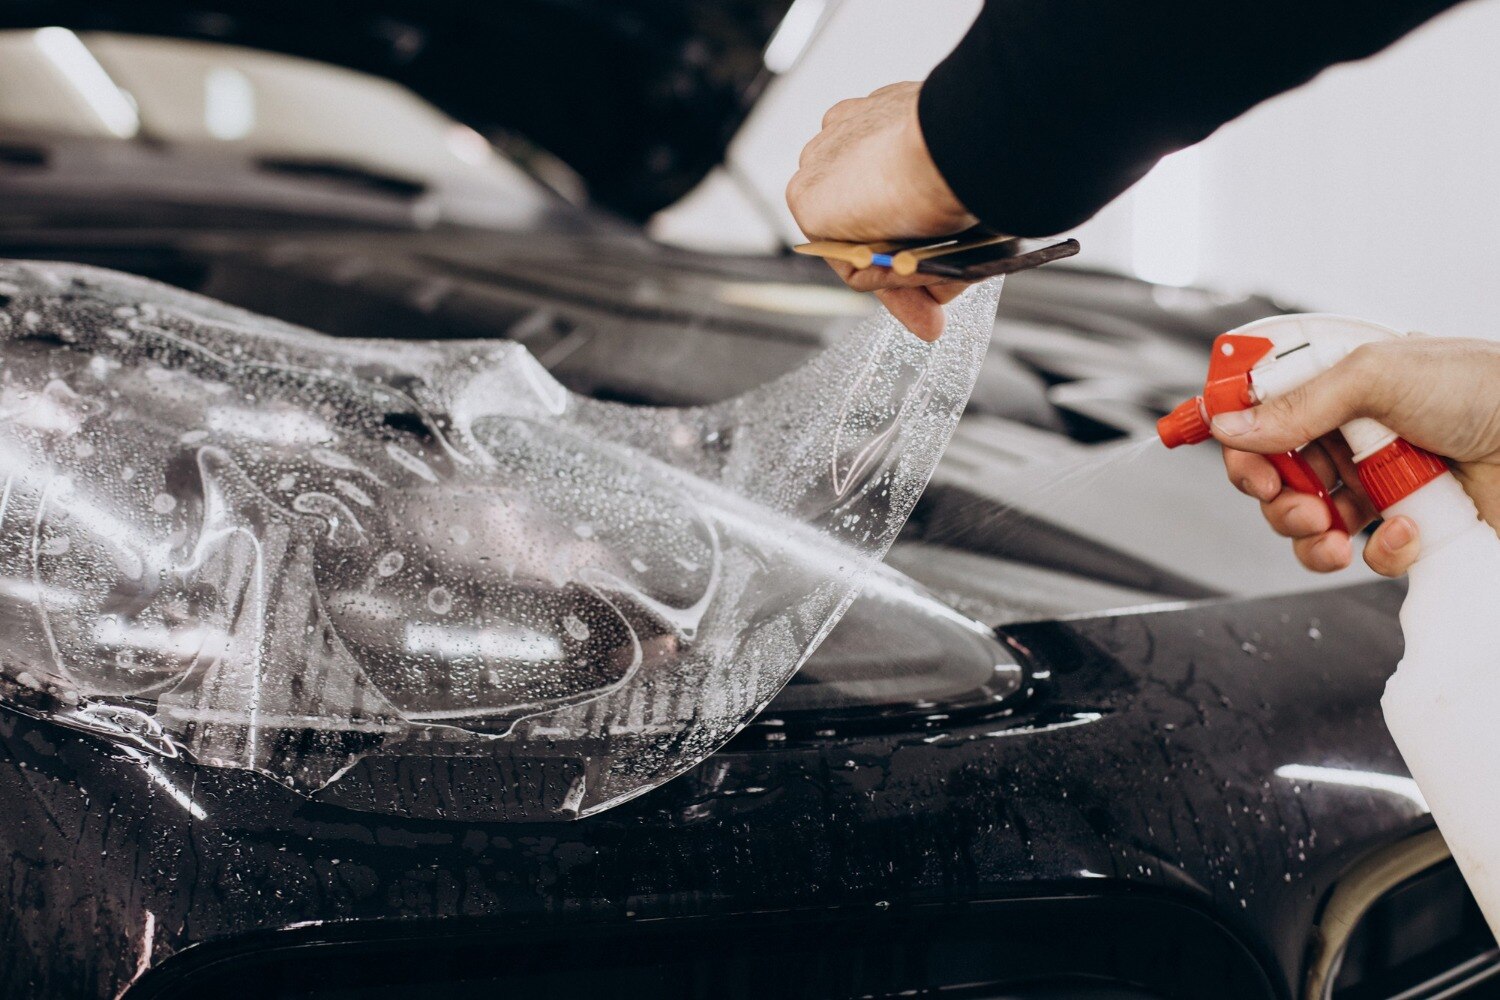
PPF is a sacrificial physical layer, usually clear thermoplastic polyurethane with adhesive. It can reduce the frequency and severity of stone chips, light abrasion and gravel scarring. It cannot make paint impact-proof: a large or sharp stone can dent the panel, split the film, cut through it or reach paint at an uncovered edge.
PPF does not reliably prevent swirl marks from washing, bird-dropping etching, UV fading, road-tar staining or deeper scratches. A ceramic coating, including a product called a PPF coating, adds chemical resistance and surface hardness but not the film thickness and elasticity needed for meaningful chip protection.
Inspect the paint first. Existing stone chips, sanding marks, oxidation, touch-up edges, dust and poor repainting remain visible beneath clear film unless the surface is corrected before installation.
Full-Front PPF or Targeted High-Exposure Coverage?
Choose a full-front PPF installation if you regularly drive on highways, follow trucks, or plan to keep the car for years; choose targeted coverage when your driving is slower, your budget is limited, or only a few panels show repeated impact.
| Option | Coverage | Best fit | Trade-off |
|---|---|---|---|
| Full-front PPF installation | Front bumper, bonnet leading section, front fenders, and often mirror caps; add A-pillars and rocker panels if the package includes them | Frequent highway or rural driving, premium paint, long-term ownership | More installation time, preparation and visible film-edge planning |
| Targeted coverage | Selected panels such as the bumper corners, bonnet leading edge, mirror caps, A-pillars and rocker panels | Urban driving, limited exposure, or a car with existing paint variation between panels | Lower coverage leaves adjacent paint vulnerable and creates more transitions |
Do not select a bonnet-only kit because it leaves the bumper and lower side panels to absorb the same debris. A targeted coverage plan works best when it follows your actual impact pattern, such as the front bumper plus areas behind the front wheels, rather than choosing one attractive panel in isolation.
Ask the installer to mark every protected panel on the quotation and state whether edges are wrapped, tucked or left visible.
Pattern quality, seam placement, paint preparation and the policy for replacing a damaged section matter as much as the film brand; a narrow kit with poor boundaries can look less consistent than a broader, carefully fitted installation.
Which PPF Specifications Matter Against Road Debris?
Compare 6–8 mil of finished PPF thickness, including its adhesive, rather than choosing the thickest film available. More material can resist ordinary impacts, but it also makes tight curves, recessed areas and edge wrapping harder to install cleanly.
| Specification | What to compare | Why it matters |
|---|---|---|
| PPF construction | Clear thermoplastic polyurethane (TPU) film with pressure-sensitive adhesive | Creates a flexible sacrificial barrier against gravel and road debris |
| Self-healing topcoat | Response to sunlight, warm water or approved heat | Closes light swirls and scratches; it cannot repair punctures, deep cuts or delamination |
| Finish | Gloss or satin finish | Gloss preserves a painted look; satin changes the panel’s appearance and must match the surrounding paint |
| UV resistance | Documented resistance in the product specification | Slows yellowing and degradation from sunlight |
| Stain resistance | Resistance to bird droppings, tar, oils and road grime | Reduces permanent marks, but does not permit harsh solvents or abrasive washing |
| Hydrophobic performance | Water-shedding behaviour and approved maintenance products | Improves cleaning, but does not increase impact protection |
| Adhesive warranty | Coverage, exclusions and claim period | Exposes limits involving non-factory paint, accidents and incorrect care |
PPF is the only option in this comparison that adds a substantial elastic, sacrificial layer for stone-chip protection. Ceramic coating adds hardness, UV and chemical resistance; wax and sealant add temporary gloss and water beading. None replaces film thickness.
Vinyl wrap primarily changes colour or finish and offers limited abrasion protection, not equivalent impact protection. A coating marketed as “PPF coating” is still a surface coating unless it includes an actual film layer.
What Must Happen Before and During PPF Installation?
Start with paint inspection: PPF will not reliably hide stone chips, sanding marks, oxidation, touch-up edges, dust or poorly bonded repaint work. Any defect left underneath remains visible through the clear film.
1. Confirm the panel’s paint history. Ask when each repainted panel was refinished and which paint system was used. Follow the paint manufacturer’s cure period; film adhesive placed on incompletely cured paint can lift clearcoat or pull weak aftermarket paint during removal.
2. Wash and decontaminate the car thoroughly. Iron fallout and tar removal must happen before clay treatment or polishing, because embedded particles create bumps, weak bond points and dirty-looking marks beneath the film.
3. Carry out paint correction where required. Remove oxidation, suitable swirl marks and light surface defects before fitting; do not polish through thin clearcoat or disguise deep chips that need separate repair.
4. Check the pattern against the panel before applying film. Correct alignment keeps seams away from sharp curves, vents and impact zones. Edge wrapping reduces visible borders, but excessive stretching around recesses encourages lifting.
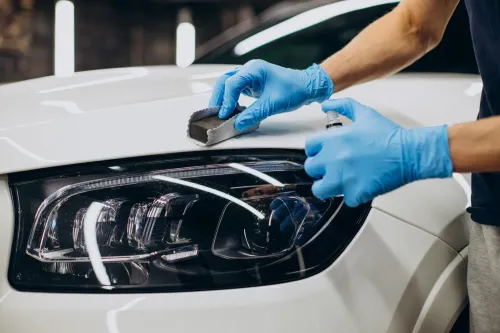
5. During installation, keep the paint, film and slip solution free of dust. The installer should squeegee solution and air from the centre outward, avoid trapped fingers and use controlled heat rather than force on tight curves. Post-heating supports adhesion.
6. Allow edge wrapping and curing time before washing. Keep pressure-washer spray away from edges, because early water pressure or contamination can start lifting; an edge that lifts needs cleaning, trimming or replacement, not pressing down over dirt.
How Do You Inspect the Finished Film and Compare Installer Quotes?
Inspect the finished film in bright, indirect light before accepting the car. The surface should look uniform, without lifting corners, trapped dust, wrinkles, bubbles that remain after curing, or cloudy adhesive marks. PPF will not hide stone chips, sanding marks, oxidation or poor touch-up edges, so compare the painted surface with the pre-installation photographs.
- Check bonnet edges, bumper corners and mirror caps for secure wrapping rather than exposed adhesive.
- Inspect parking sensors and headlamps for clean cut-outs, correct operation and no film covering their active faces.
- Examine badges and panel gaps for trapped film, uneven cuts or edges that could catch while washing.
- Look for a straight, discreet transition line on partial coverage; a dirty-looking edge is a workmanship problem, not normal protection.
Compare quotes by what is included, not just by film brand or thickness.
| Coverage | What to confirm | Warning sign |
|---|---|---|
| Panel scope | Exact panels and template coverage | “Full front” with no written panel list |
| Edges | Wrapped edges, seam locations and bulk-cut work | Exposed edges hidden by vague wording |
| Preparation | Decontamination, paint correction and defect recording | Installation over uncorrected paint |
| Warranty | Film warranty and separate adhesive warranty, plus claim handling | Warranty period without exclusions or paperwork |
| Aftercare | Dry time, washing method and edge restrictions | No written maintenance instructions |
Follow the installer’s stated 24–72-hour drying period, avoid pressure-washing during it, and never aim a close spray at film edges later. Ask RS Car Accessories to record these inclusions and exclusions on the quote before comparing its price.
Frequently asked questions
Which car panels take the most stone chips?
The front bumper, bonnet leading edge and front fenders face debris thrown by tyres and vehicles ahead. Mirror caps, A-pillars, rocker panels and paint behind the front wheels also receive grit.
Should you choose full-front PPF or targeted coverage?
Full-front PPF covers the bumper, bonnet and fenders more comprehensively. Targeted coverage suits drivers who want to protect the highest-impact areas while limiting film, installation time and cost.
Which PPF specifications matter against road debris?
Compare the film’s thickness, polyurethane construction, optical clarity, self-healing behaviour, adhesive quality, warranty exclusions and how far the installer wraps edges.
What must happen before and during PPF installation?
The paint must be washed, decontaminated and inspected for defects before fitting. The installer should align panels carefully, control dust and moisture, avoid overstretching and seal film edges.
How do you inspect finished PPF and compare installer quotes?
Check the film in bright light for dust, stretch marks, silvering, wrinkles, bubbles and lifting edges. Compare quotes by panel coverage, film specification, paint preparation, edge wrapping, warranty and aftercare.